This is part 4 of a 4 part series of articles where I explain how I discovered and purchased my laptop by building a web application which scrapes a local PC parts forum and sends automated email alerts when posts featuring specific keywords appear:
- Part 1: Let Your Next Laptop Find YOU!
- Part 2: Django and Scrapy
- Part 3: Celery, Mailgun and Flower
- Part 4: Deploying and using CarbAlert (this page)
CarbAlert on GitHub: https://github.com/dinofizz/carbalert
Docker
As part of my quest to learn new things I wanted to deploy my CarbAlert solution using Docker and Docker Compose. Docker Compose is well suited to this application as it enables a group of related Docker containers to be built and deployed together.
I opted for the following container layout:
db: runs PostgreSQL and makes use of a persistent data volume.web: runs the Django application which allows for access to the admin console. Gunicorn is used for the WSGI HTTP server.celery_worker: runs my Celery worker process which handles asynchronous task execution.celery_beat: runs the Celery beat process which manages scheduled task execution.celery_flower: runs Flower, the graphical front-end for the Celery.redis: the message broker used by Celery.
The Dockerfile I am using for my Django and celery containers is very simple. It specifies a Python image (which uses Debian as a base operating system). The Dockerfile specifies that the operating system is to be updated, the requirements.txt to be copied across and pip used to install all the dependencies. Following that, the entire source directory is copied across.:
FROM python:3.6
ENV PYTHONUNBUFFERED 1
RUN apt-get update && apt-get -y upgrade
RUN mkdir /code
WORKDIR /code
ADD requirements.txt /code/
RUN pip install -r requirements.txt
ADD . /code/
The docker-compose.yml file I am using:
---
version: '3'
services:
  db:
    image: postgres
    volumes:
      - postgres_data:/var/lib/postgresql/data/
  web:
    build: .
    working_dir: /code/carbalert
    command: gunicorn carbalert.wsgi -b 0.0.0.0:8000
    volumes:
      - "/static:/static"
    ports:
      - "8000:8000"
    depends_on:
      - db

  celery_worker:
    build: .
    working_dir: /code
    command: celery -A carbalert.carbalert_scrapy.carbalert_scrapy.tasks worker --loglevel=info -f celery_worker.log --max-tasks-per-child 1 --email "${MAILGUN_EMAIL}" --key ${MAILGUN_API_KEY} --domain ${MAILGUN_DOMAIN}
    volumes:
      - .:/code
    depends_on:
      - web
      - redis
    environment:
      - SCRAPY_SETTINGS_MODULE=carbalert.carbalert_scrapy.carbalert_scrapy.settings

  celery_beat:
    build: .
    working_dir: /code
    command: celery -A carbalert.carbalert_scrapy.carbalert_scrapy.tasks beat --loglevel=info -f celery_beat.log
    volumes:
      - .:/code
    depends_on:
      - celery_worker

  celery_flower:
    build: .
    working_dir: /code
    command: celery -A carbalert.carbalert_scrapy.carbalert_scrapy.tasks flower --loglevel=debug --auth_provider=flower.views.auth.GithubLoginHandler --auth=${FLOWER_OAUTH2_EMAIL} --oauth2_key=${FLOWER_OAUTH2_KEY} --oauth2_secret=${FLOWER_OAUTH2_SECRET} --oauth2_redirect_uri=${FLOWER_OAUTH2_REDIRECT_URI} --url_prefix=flower
    ports:
      - "5555:5555"
    depends_on:
      - celery_worker

  redis:
    container_name: 'redis'
    image: 'redis:3.2.0'
    ports:
      - '127.0.0.1:6379:6379'

# Uncomment below for local dev set-up
#  nginx:
#    restart: always
#    container_name: nginx_server
#    build:
#      context: ./nginx-docker/
#      dockerfile: Dockerfile
#    depends_on:
#      - celery_flower
#    ports:
#      - "0.0.0.0:80:80"
#    volumes:
#      - "/static:/static"

volumes:
  postgres_data:
Link to docker-compose.yml: https://github.com/dinofizz/carbalert/blob/master/docker-compose.yml
Note on optional Nginx container
In production I am running CarbAlert on a virtual private server (VPS) instance whose Nginx configuration I manage manually, so I have no need for a dedicated container running Nginx.
But I have included an “nginx” service in the docker-compose.yml file which will act as a reverse proxy for the Django and Flower web applications. This is most useful for local development and debugging as you will not need to install or setup Nginx on your host machine. However I have kept this service commented-out in the docker-compose.yml file. Un-comment the “nginx” service lines if you wish to run the Nginx container.
Environment variables and the .env file
I use a .env file in order to pass the Mailgun API and Celery Flower OAuth2 parameters from the host through to the container processes. The .env file looks like this:
# Mailgun
[email protected]
MAILGUN_API_KEY=<secret Mailgun key goes here>
MAILGUN_DOMAIN=<Mailgun domain goes here>

# Flower GitHub OAuth2
FLOWER_OAUTH2_EMAIL=dino@dinofizzotti\.com
FLOWER_OAUTH2_KEY=<OAuth2 key goes here>
FLOWER_OAUTH2_SECRET=<OAuth2 secret goes here>
FLOWER_OAUTH2_REDIRECT_URI=https://carbalert.dinofizzotti.com/flower/login
Nginx & LetsEncrypt
Currently I am hosting CarbAlert on my DigitalOcean virtual private server (VPS) at carbalert.dinofizzotti.com (although to see anything in a browser you would need to navigate to the /admin or /flower endpoints).
I use Nginx as a reverse proxy to route traffic to the various apps and static sites hosted on the VPS.
Below you will see my server block for carbalert.dinofizzotti.com, with location blocks to route traffic between the Django app running the admin console and the Flower app I use for monitoring the Celery tasks.
## Serves https://carbalert.dinofizzotti.com
server {
        server_name carbalert.dinofizzotti.com;

        listen [::]:443 ssl; # managed by Certbot
        listen 443 ssl; # managed by Certbot
        ssl_certificate /etc/letsencrypt/live/carbalert.dinofizzotti.com/fullchain.pem; # managed by Certbot
        ssl_certificate_key /etc/letsencrypt/live/carbalert.dinofizzotti.com/privkey.pem; # managed by Certbot
        include /etc/letsencrypt/options-ssl-nginx.conf; # managed by Certbot
        ssl_dhparam /etc/letsencrypt/ssl-dhparams.pem; # managed by Certbot

        location /static/ {
                autoindex on;
                alias /static/;
        }

        location / {
                proxy_set_header X-Forwarded-For $proxy_add_x_forwarded_for;
                proxy_set_header Host $http_host;
                proxy_redirect off;
                proxy_pass http://localhost:8000/;
        }

        location /flower/ {
                rewrite ^/flower/(.*)$ /$1 break;
                proxy_pass http://localhost:5555;
                proxy_set_header Host $host;
        }
}

server {
        if ($host = carbalert.dinofizzotti.com) {
                return 301 https://$host$request_uri;
        } # managed by Certbot

        listen 80;
        listen [::]:80;
        server_name carbalert.dinofizzotti.com;
        return 404; # managed by Certbot
}
You will notice that carbalert.dinofizzotti.com is available on a secure “https” endpoint. Traffic to and from the VPS is signed with a free SSL/TLS certificate from LetsEncrypt. I followed this guide from DigitalOcean to enable this.
Running CarbAlert
To run CarbAlert I ssh into my VPS, switch to the carbalert directory as cloned from my source control, and issue the following commands:
# Build and start the docker containers as described in docker-compose.yml
$ docker-compose up -d

# Generate the static content for the Django web admin portal
$ docker-compose exec web python manage.py collectstatic

# Apply the required migrations
$ docker-compose exec web python manage.py migrate

# Create a super user with which we can log into the Django admin portal
$ docker-compose exec web python manage.py createsuperuser
Updating CarbAlert
If I need to update CarbAlert I simply need to pull the latest changes from the repository, re-build and re-up the containers. If there are changes to my models (and hence the database schema) then I run the migrate step. I create my migrations as part of development and testing and keep the migrations checked in to source control so there should be no need to run makemigrations on the VPS.
# Fetch the latest code from the repo
$ git pull origin master

# Build the images
$ docker-compose build

# Create and run the containers
$ docker-compose up -d

# If required, run the migrate step
$ docker-compose exec web python manage.py migrate
Using CarbAlert
What follows is a walk-through on how to add a user which will be receiving alerts on a newly added search term.
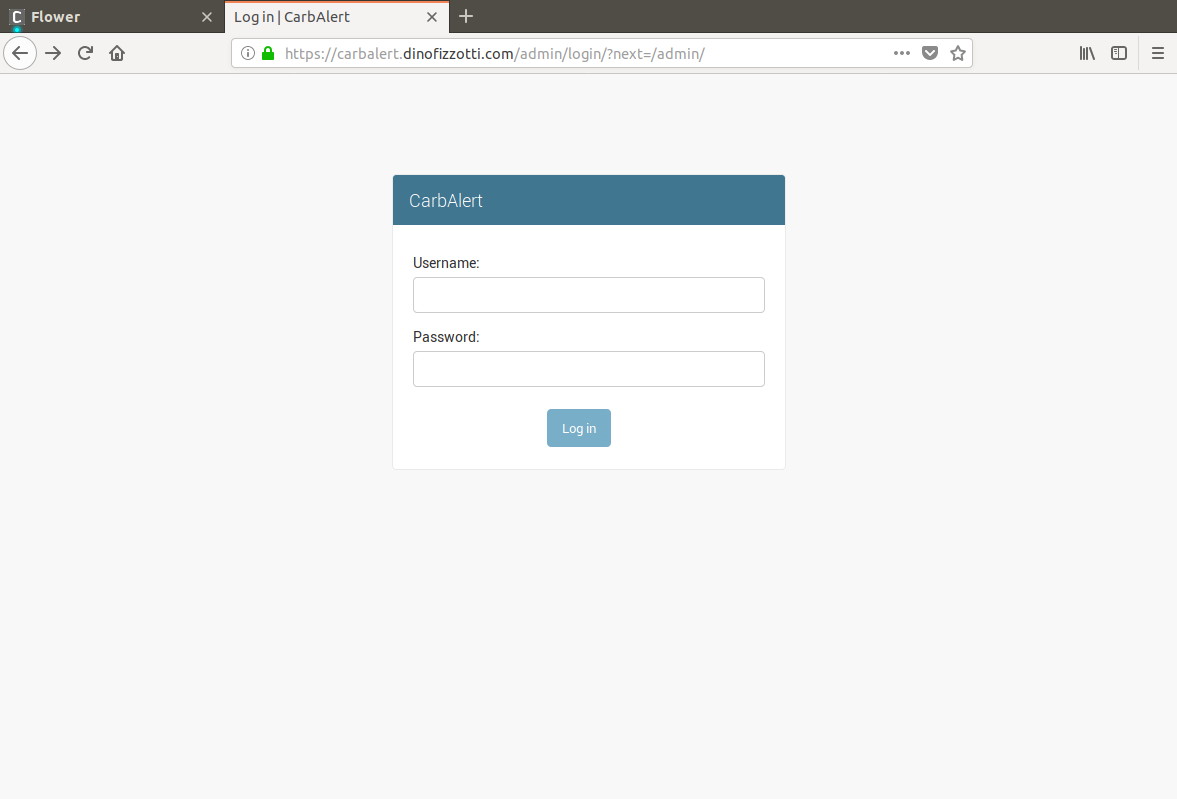
Log-in with the admin account
First the admin user needs to log in to CarbAlert. This is done by accessing http://carbalert.dinofizzotti.com/admin;
After successfully logging in you are taken to the main administrator landing page:
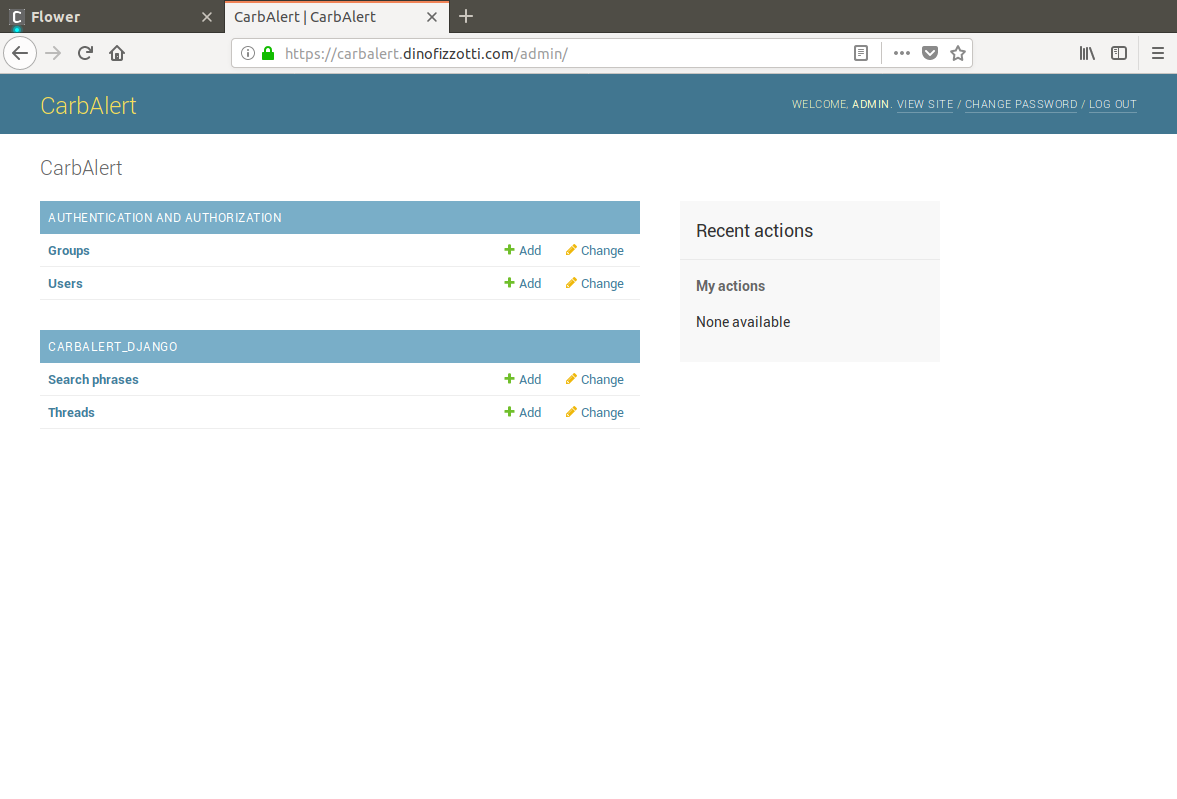 CarbAlert admin site
Create a new user which will receive alerts
To create a new user for which search terms will be registered navigate from the admin landing page to the “Users” admin page and then click the “Add user +” button on the top right. You will need to provide a username and the email address. This is the email address will be used when sending the alerts.
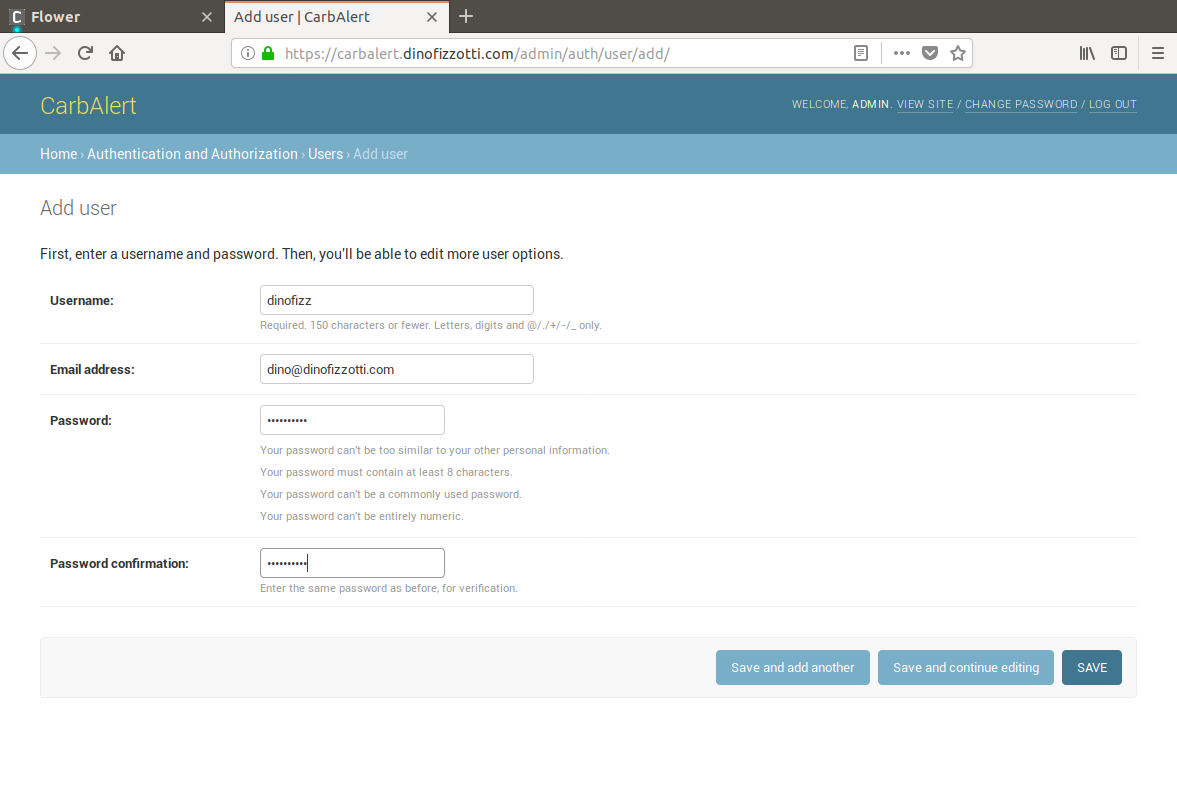 Create a new user
Register a search term
To register a search term you need to navigate to the “Search phrases” page from the main admin landing page, and then select the “Add search phrase +” button on the top right. You need to enter a search term and select the user which will be receiving the alerts for this term.
In the screenshot below you can see that I am adding the search phrase “dell” (which is sure to give me a bunch of hits from the Carbonite laptop forum):

That’s it! Once the search term has been saved it will be included in the list of search phrases during the next execution of the Scrapy spider task. If there are any hits on this search term an email will be sent out to all associated users.
Profit
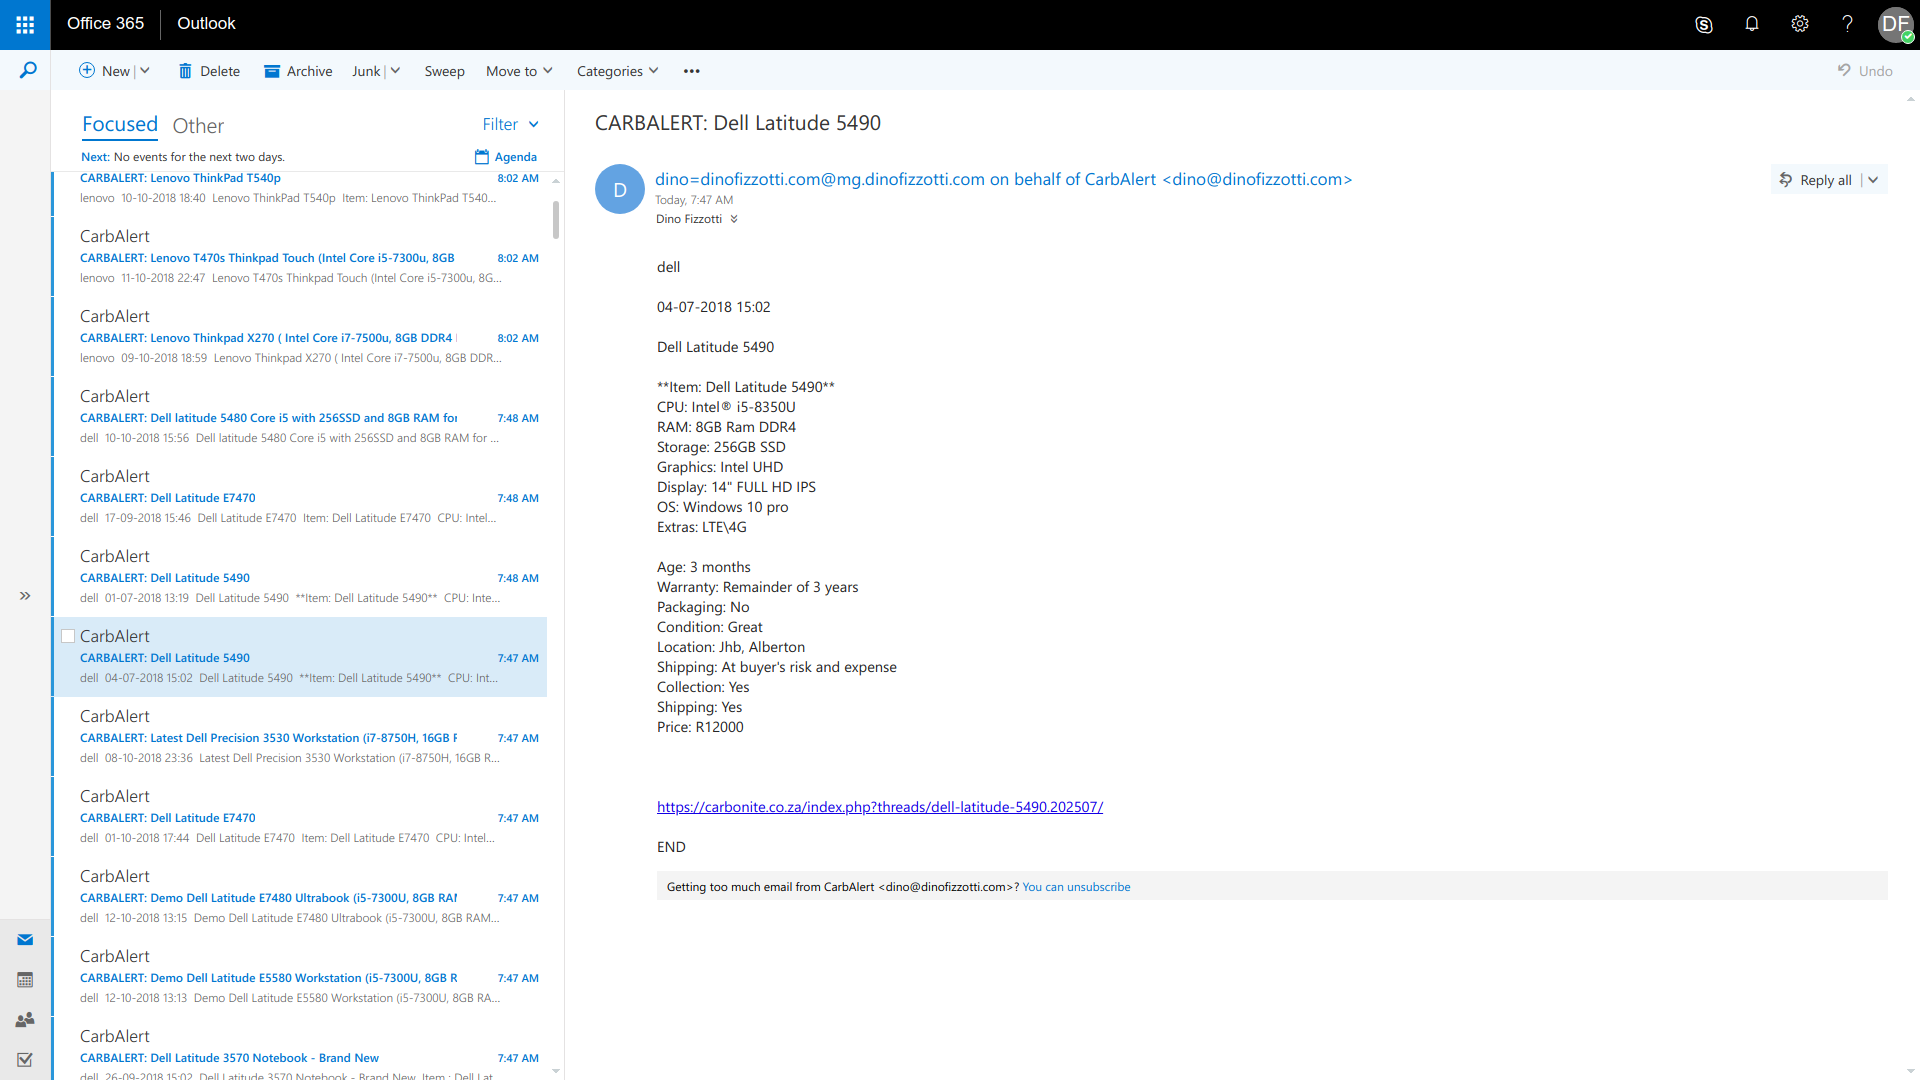
As predicted, I did end up with a bunch of hits for my “dell” search term as evident in my inbox a few minutes later.
In the admin console I can see the thread objects which have been saved to the database, and inspect the details of each:
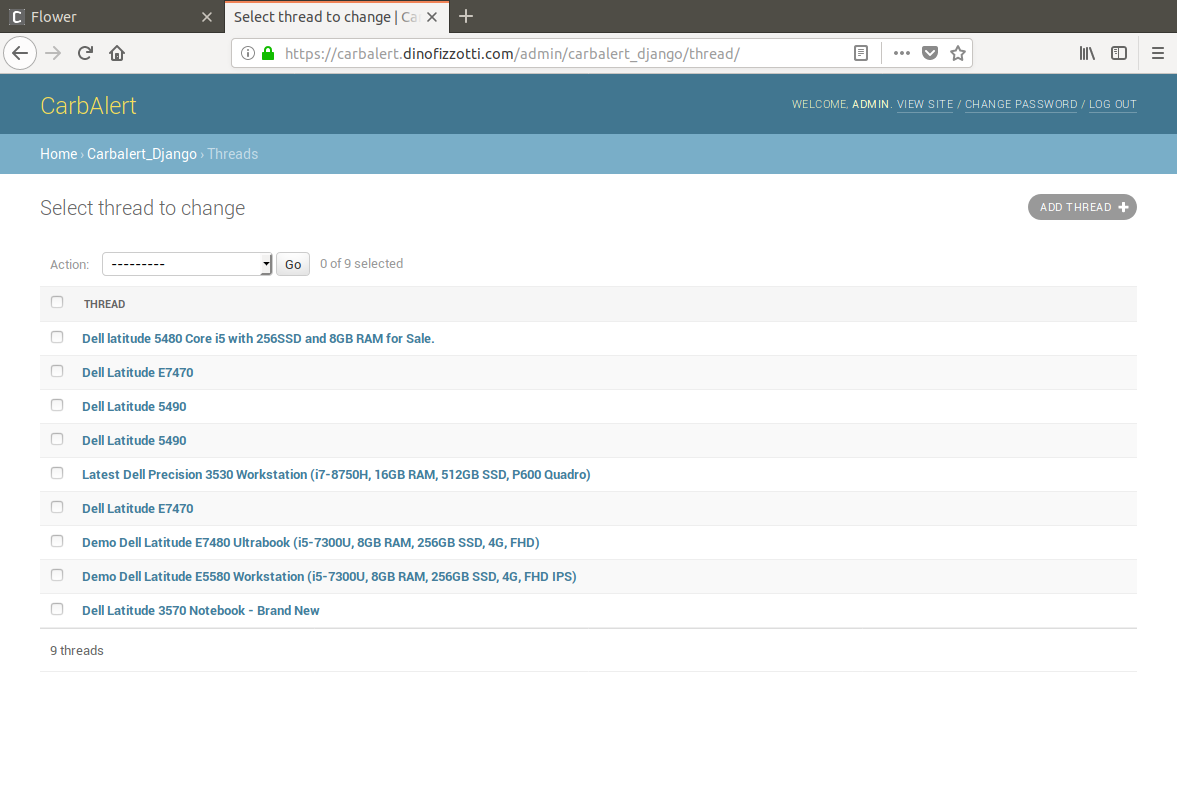

Result
This very Dell 7490, i7-8650U, 16 GB RAM, 1080p non-touch screen, 512 GB NVMe SSD that I used to write up all these posts about my CarbAlert project is mine today because one Sunday morning a few weeks ago I received a CarbAlert informing me that this laptop (condition: as new, with original packaging) was up for sale :)
#TODO
So while ultimately this project was a success, in hindsight (as always) I would do a few things differently. I definitely need to separate out the Scrapy Spider/Pipeline stuff from the Celery task code, and can probably spend more time on a better algorithm for storing threads and checking search phrases (i.e. if I add a new search phrase I should re-check existing saved threads).
I would also want to add tests! And perhaps automate the deployment after a push to master… and maybe allow for dynamic forum URL to scrape against… and… and… :P